Google Analystics Definition

Sunday, October 23, 2011

We're (almost) Back!

Hi Everyone!

Sorry to keep everyone in the dark about our whereabouts.  We have been off in our secret laboratory experimenting new product ideas.  We are currently working on some market dates at different locations throughout the Lower Mainland.  The dates and locations we'll be at are listed on this blog.

Here is a sneak peak of Irene's new creation: Olive Spread.  Another savoury preserve to spread on just about anything.


Our B.O.M. will be in EXTREMELY limited supply unless we find an affordable commercial kitchen to rent.  We're doing out best to make things work. But, if anyone has any suggestions to offer, it would be greatly appreaciated.

Sunday, January 2, 2011

Chicken Liver Pate

Happy New Year everyone!  Sorry it has taken so long to make a new posting on the blog.  Even though the Winter season of The Baker’s Market was over the mayhem of Christmas took up a lot of time.

IMG_1950

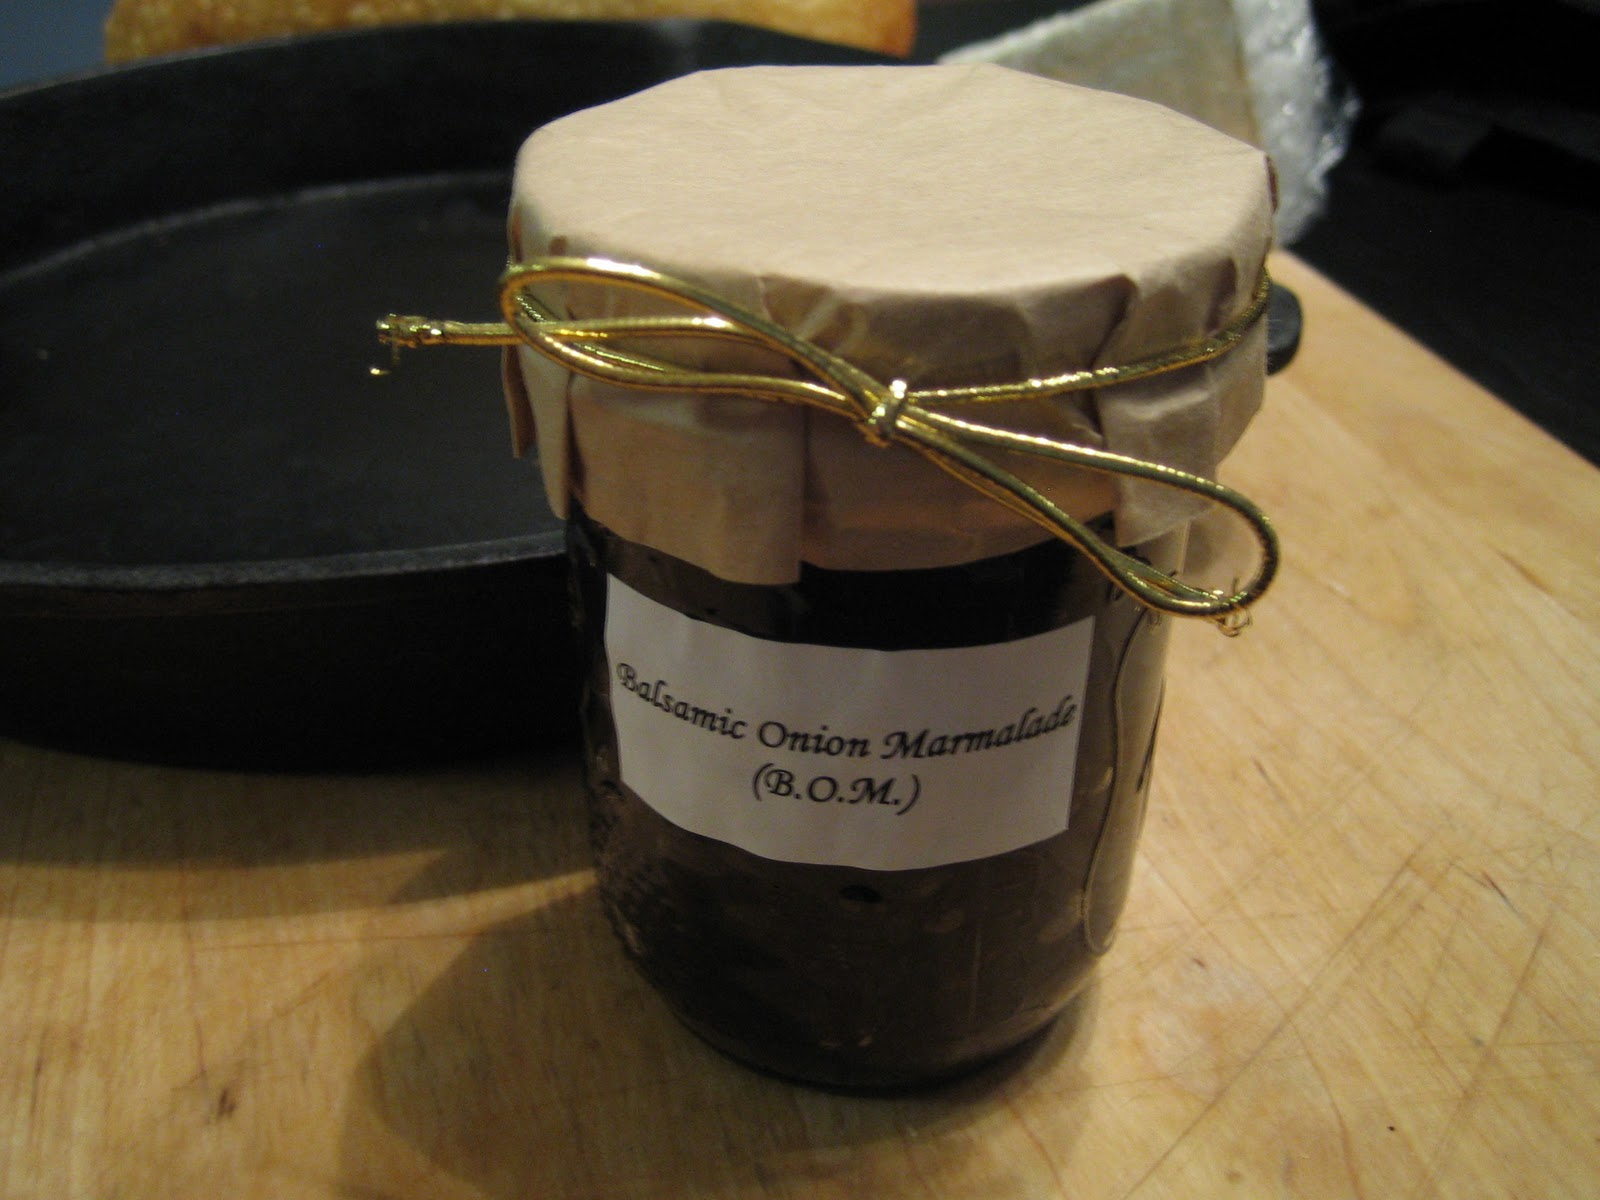
Like we promised here are some more recipes which we hope you’ll try.  If you received a jar of The B.O.M. over the holidays here is a Chicken Liver Pate recipe that you can serve as an accompaniment.  Some people find that liver is unpalatable because of its strong flavor.  The liver-y flavor was mild in comparison to other pates that I’ve had.  I’m not sure if it is because I used chicken livers or because of the amount of butter I used.

IMG_1797

IMG_1804


It’s rather strange that a pate, a dish that is considered to be so refined is made from a so called meat “by-product”.  I know that I didn’t know how to appreciate such things when I was younger, but I’m glad I came around.


IMG_1812


Once again I used my trusty skillet to tackle the job of browning the livers in some butter.


IMG_1823


I couldn’t resist leaving all those tasty brown bits in the pan.  So I deglazed it with a bit of brandy and scraped off what I could.


IMG_1846


Everything went into the food processor for a spin.


IMG_1858


Everything blended together.


IMG_1871


Then it was all pushed through a sieve to achieve a silky smooth texture.


I didn’t think it through too well when I packed the pate in a tupperware container and put it in the fridge.  When I went to see how it turned out the next day it turned out to be a big gray block.  wonk wonk…IMG_1895

So i left the pate out for a little while to soften so that I could re-pack it.  I need to think of a better way of doing this the next time I decide to make a pate.IMG_1905


I thought it would be nice if a garnish on the pate.  So I lined the inside of a small jar and a ramekin with some saran wrap and placed two bay leaves at the bottom of both.


IMG_1910


Again, it would’ve been much easier to pack the pate into the dishes immediately after passing it through the sieve while it was still soft and pliable.  Oh woe, the trials and errors of cooking…


IMG_1918

After another night in the fridge I unmolded one of them.  All those little imperfections would’ve been avoided had I put it in the ramekin in the first place.  If you try this make sure to use an extra large sheet of saran wrap.  Mine was tearing a little making it a rather difficult to take it out of the ramekin.  If you want make this without a lot of fuss just serve it in the ramekin.  Kinda looks like cat food, but I assure you that it was delicious.

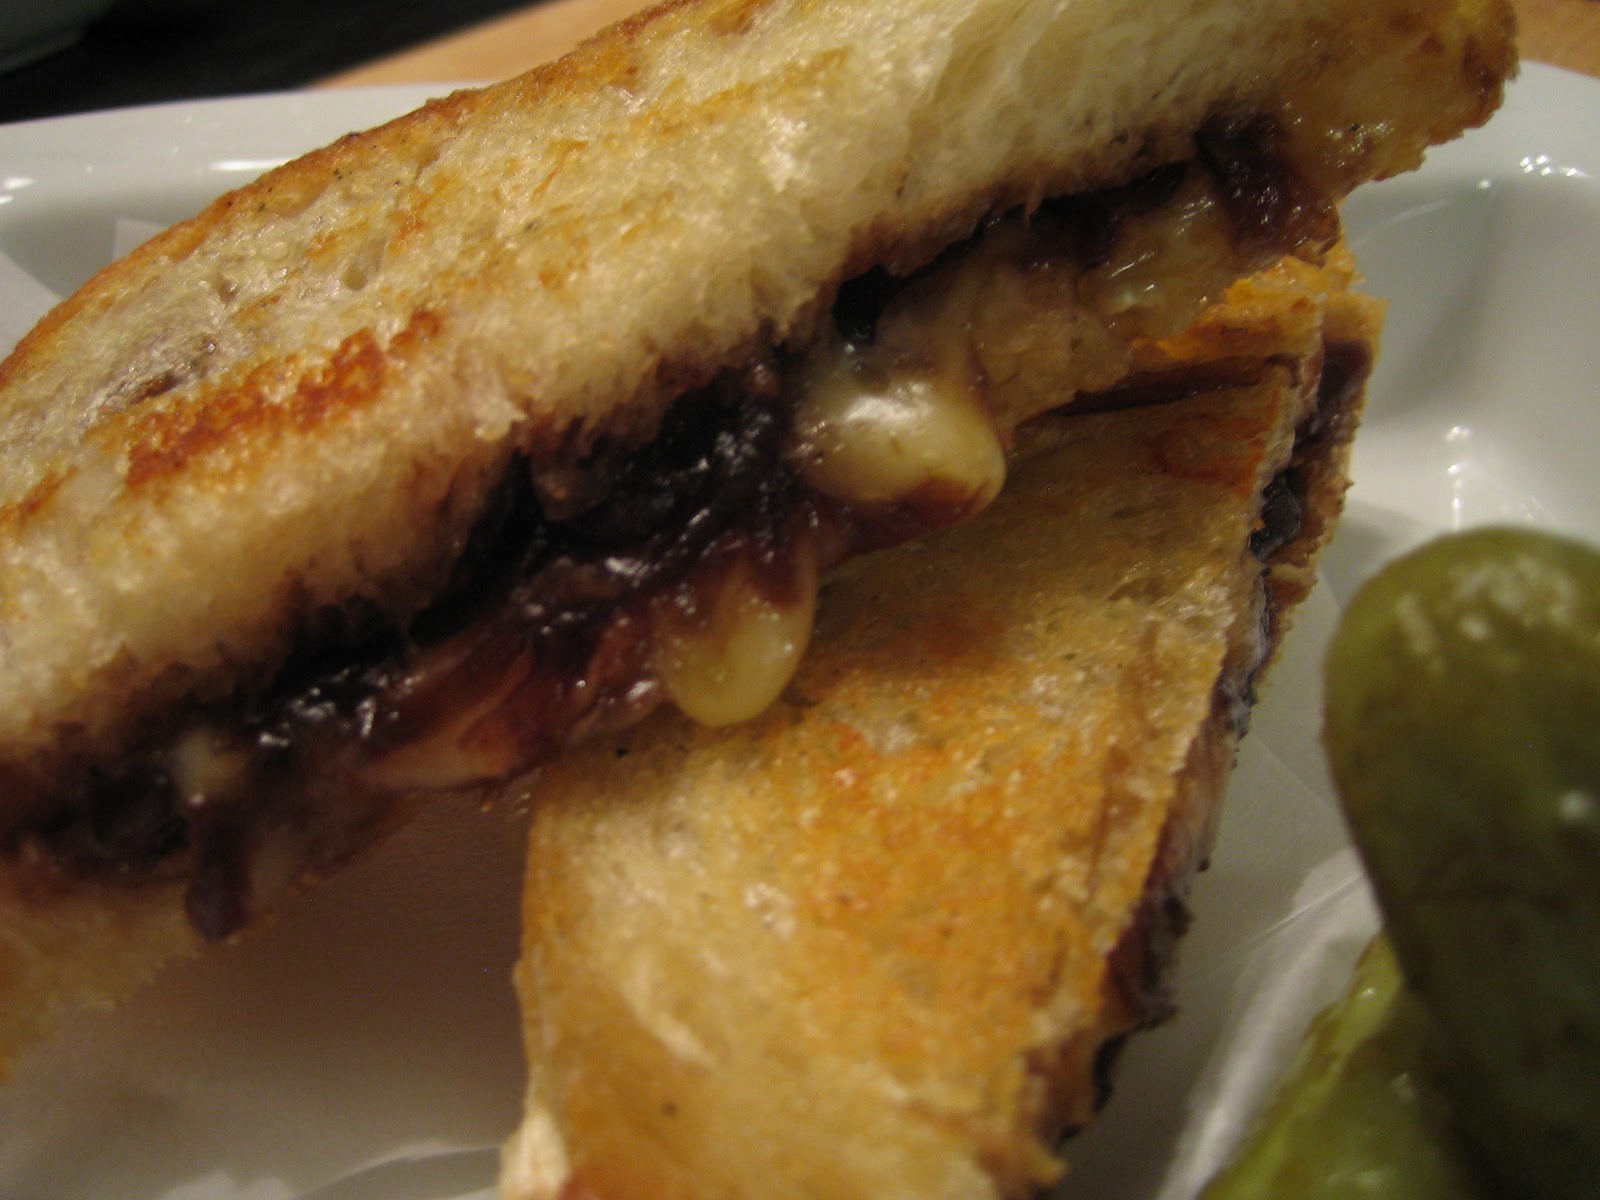
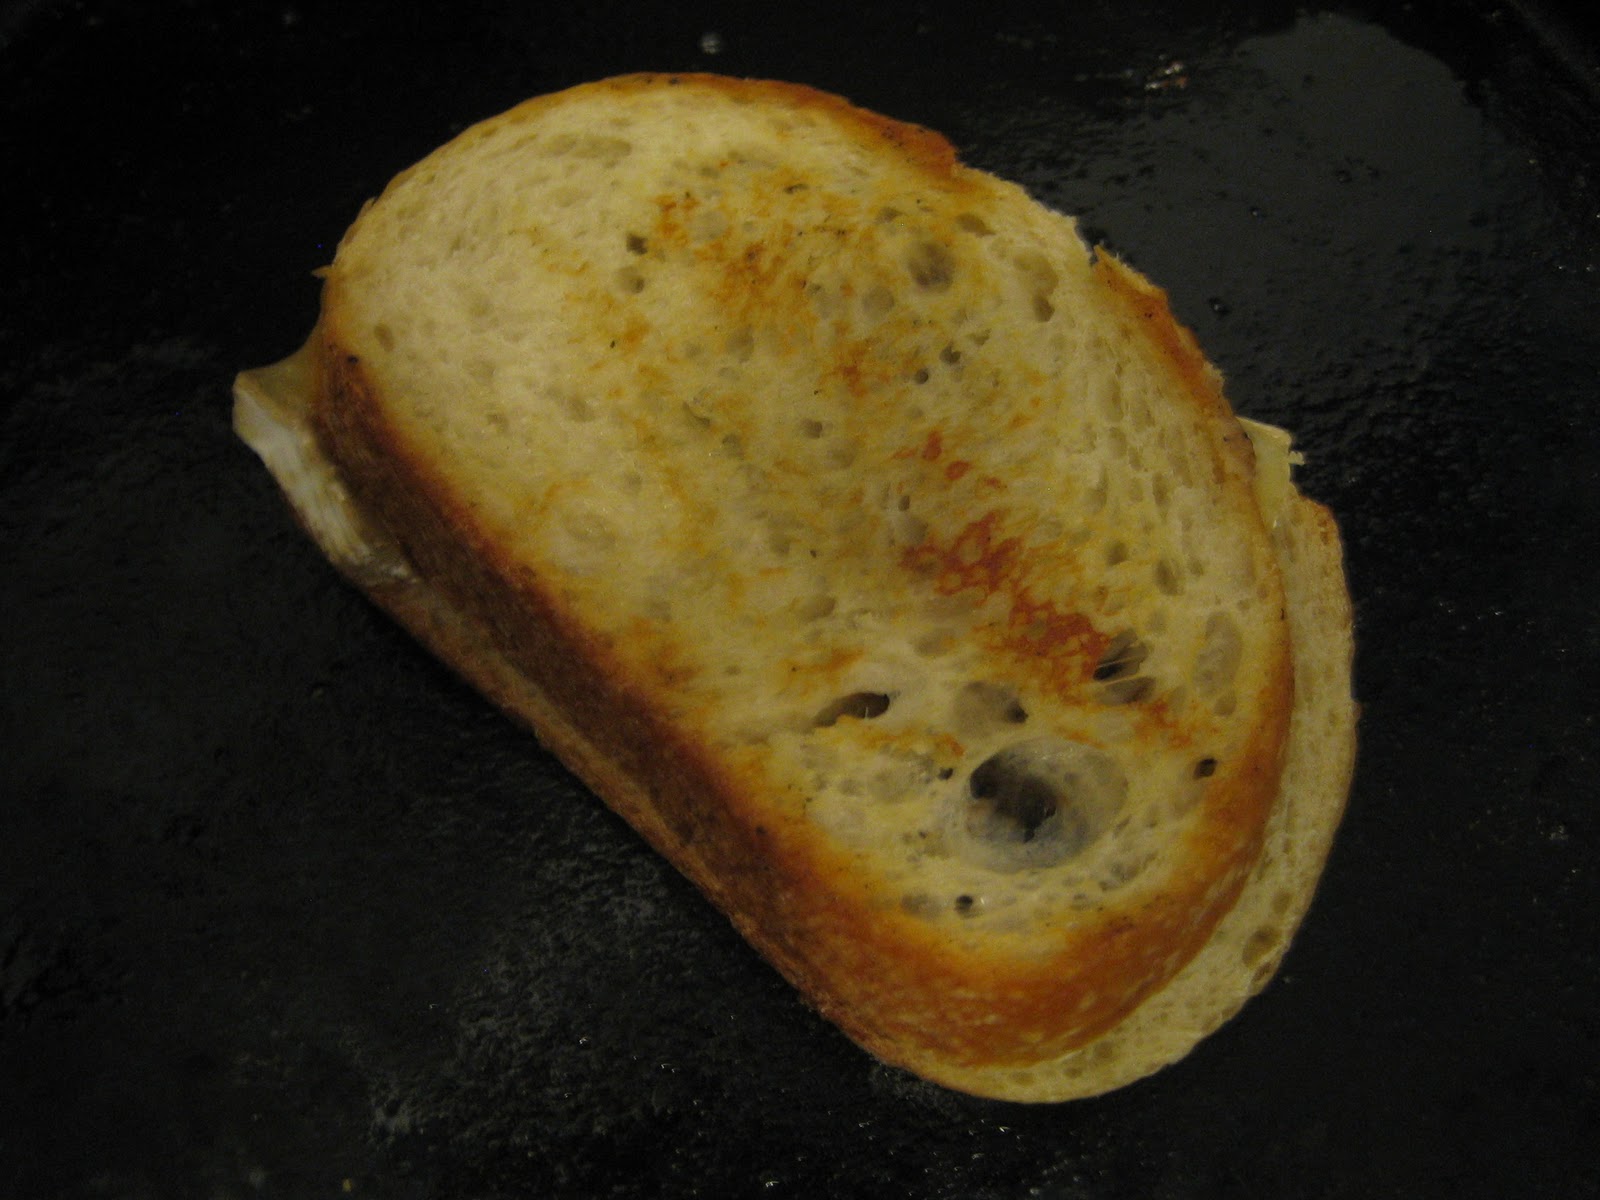
I served this with some brioche toast points and Balsamic Onion Marmalade.  I put the other container in the freezer and brought it to our family Christmas dinner a few weeks later.IMG_1928   Hope some of you give this a try!

Chicken Liver Pate
Serves 6 or more

1lb Chicken livers, rinsed and pat dry
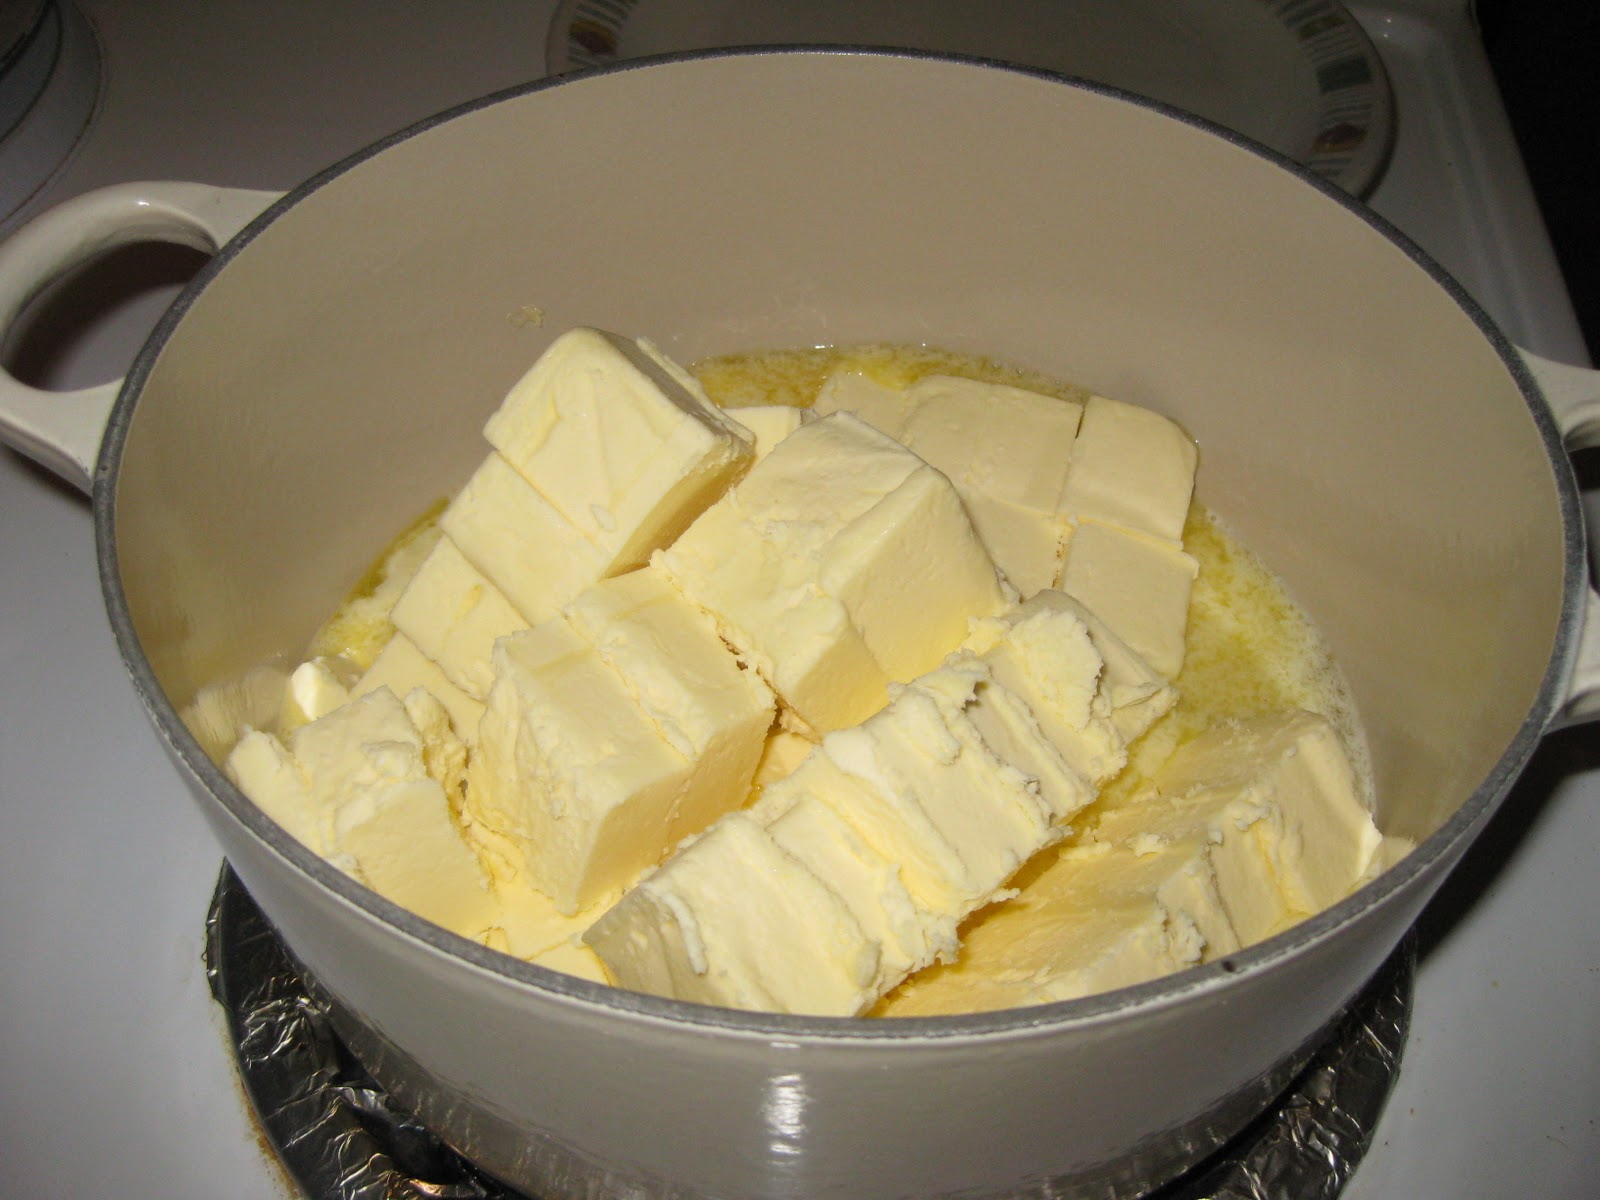
1 cup Butter, divided
2 Tbsp Brandy
1 pinch Nutmeg
2 tsp Salt or to taste
1 tsp Pepper

Instructions:

In a skillet melt 2 Tbsp butter over medium heat.  Add Chicken livers in an even layer and fry both sides until golden and cooked through.  Livers should still be pink inside.

Transfer livers directly to food processor.  Then deglaze skillet with 1 Tbsp Brandy and transfer mixture to food processor along with remaining butter, brandy, nutmeg, salt, and pepper.  Blend until smooth

Pass the pate through a fine mesh sieve.  Discard remnants in the sieve then spread the pate evenly into ramekins then chill overnight.  Bring to room temperature before serving.

Friday, November 26, 2010

Balsamic Onion Glazed Pork Tenderloins

I thought it would be nice to include some recipes that would be good for holiday entertaining.  Here is one that uses pork tenderloins which are both tender and low in fat.
I didn't notice it until I thought about it but I actually eat quite a bit of pork.  I guess because pork is used in Asian cuisine more than chicken or beef.  However, I would never buy pork tenderloins to cook at home because I thought it would be hard to cook.  I just might be putting pork tenderloins on the menu more often now that I've created this recipe.  After all they were quick and healthy and not to mention tasty too.
It snowed in here in Vancouver the other day and the city looked so gorgeous blanketed in snow.  I was really tempted to stay home from work and cozy up to a blanket and hot chocolate.  Instead I braved the roads and thankfully got to work in one piece.  Yes, it's true that we Vancouverites do not know how to drive in the snow and I guess it doesn't help that people like me do not have snow tires.  Fortunately for everyone the the rain melted all but a few mounds of dirt covered snow within 24 hours.

That night I enjoyed staying warm by standing next to the hot oven as the pork was roasting in the oven.

Before I went ahead to roast the tenderloins I wanted to take a few steps to add more flavor and make sure that the glaze adhered to the meat.  After I dried the meat with paper towel I doused the it in a mixture of corn starch, sugar, salt, and fresh ground pepper.
In my cast iron skillet I seared the tenderloin until all sides were evenly browned.  The fumes from the pan were already making me salivate.  I didn't even add the glaze yet.
After I the meat browned I deglazed the pan and got all those good bits of flavor the pork left behind.  In the pan I added 1/2 a cup of chicken stock, 2 Tbsp of The B.O.M., and 2 tsp of grainy mustard.


If you ever want to do something dumb try to take a picture of a hot pan as it is being deglazed.  You will find that steam is actually hot.  You might also find that it can scorch your pinky finger.  Please keep some aloe handy.

 I brushed the tenderloin with a Tbsp of The B.O.M. and roasted it in the oven for about 12 minutes.  *If you try this and find the marmalade too thick to brush on you can heat it up in the microwave for about 10 seconds so will spread easier.
At this point the first layer of glaze had already caramalized and had dried.  I brushed again with a second layer of glaze for extra flavor.  Then returned the the tenderloin to the oven until it was ready to come out for good.
After the pork came out of the oven I gave it a final coating and let it rest for a few minutes before I sliced it.  Those minutes are always take longer to pass if you're waiting for something to be ready to eat!


Then I topped it with the glaze from the pan.


I hope you will try this recipe sometime.  It works great for entertaining because you can make it from start to finish in less than an hour.  I will continue to create great tasting recipes so stay tuned!

-Vicki

Balsamic Onion Glazed Tenderloins (The above post is half the recipe)
Serves 6

2 Pork Tenderloins (about 1 1/2 pounds each)
1/4 cup Corn Starch
2 Tbsp Sugar
1 Tbsp Salt
1 tsp Ground Black Pepper
2 tsp Grainy Mustard
1 cup Chicken Stock
2 Tbsp Oil

Instructions:

Preheat oven to 375 degrees with the rack in the middle position.  As the oven preheats combine corn starch, sugar, salt, and pepper in a baking dish.  With clean paper towels pat dry the tenderloins and coat them in the corn starch mixture.  Shake off any excess.

Heat skillet with oil on medium-high until oil begins to smoke.  Brown all sides of tenderloins evenly.  Transfer tenderloins to a rimmed baking sheet lined with a wire rack.

While the skillet is still hot deglaze with chicken stock and whisk in 4 Tbsp Balsamic Onion Marmalade and the Mustard.  Remove from heat and set aside.

Brush each browned tenderloin with approximately 1 Tbsp of Marmalade.  Roast tenderloins in preheated oven for approximately 12 minutes and apply a second coat of marmalade.

Continue to roast until the tenderloins have reached an internal temperature of between 135-140 degrees.  At this point remove from the oven and apply the final coat of Marmalade and let the meat rest uncovered for 10 minutes.  Slice and serve with reserved mustard glaze.

Monday, November 22, 2010

Grilled Cheese Taken to New Heights

I promised some recipes that showcased our Balsamic Onion Marmalade so here is the first.  I got a loaf of artisanal sourdough bread (the kind with the big wholes and crackily crust)  after our second week at The Baker's Market and I thought, "What better to make than a grilled cheese sandwich?".  So that is exactly what I made for lunch the next day.


I love grilled cheese sandwiches.  They are my go to food when there is nothing else good in the fridge.  I know it might be awful but I always use a slice of processed cheddar in between two slices of buttered white Wonder bread.  But it's not all bad, each slice of processed cheese contains the calcium of one whole glass of milk!


This time since I had that nice fresh loaf of sourdough I took it to the next level with creamy brie and a few spoonfuls of The B.O.M..

So I basically just cut up a couple of slices of bread and topped it with The B.O.M. and a few good slabs of brie.

Melted some butter on a hot skillet.  I love my cast iron skillet!  I also love butter! (who doesn't?)
Browned both sides of the sandwich until the cheese turned into ooey gooey melty creamy goodness.  Of course, not forgeting to butter the other side too.

Voila! Uber good grilled cheese.

I really enjoyed that sandwich, especially with the pickles.  Next time I make it I'll add BACON.  Bacon makes everything (really, everything) better.


By the way, for those of you who eat it by the spoonful we now have The Balsamic Onion Marmalade in a larger size.  It will of course be available at the Bakers market each Saturday until December 11th or you can contact us to place an order.  If you made anything with your marmalade we would really like to know what it was.  We love getting feedback.

Happy Eating!

-Vicki

Friday, November 19, 2010

Baker's Market Relocated

If you haven't checked in recently, the Baker's Market is now at the Creekside Community Centre in the Olympic Village.  We hope no one goes to the old location, as they will be disappointed - no baked goods to be found!  I've actually never been to the Olympic Village myself, and I'm happy I can finally see it.  It's too bad that most people refer to it like a deserted ghost town, because as hyped-up as it was, no one seems to care about it now.  But hey, the market should breathe new life into it!

We will be at the market again this Saturday Nov 20th, and will be there each following Saturday until the closing. 

We've got more Balsamic Onion Marmalade - hopefully our supply will meet the demand!  We will also have more Salted Brown Sugar Shortbread and will have some new items!  This Saturday we will have Fruit & Nut Crisps available:


- Irene

Thursday, November 18, 2010

Browned butter is better...

I've been reading up on browned butter, or beurre noisette, and decided to try my hand at making it.  It's supposed to add a nice nutty, rich flavor to foods, and it's used a lot in culinary sauces.  Basically it's the process of cooking butter until the milk solids brown, giving the butter a darkened colour and nutty aroma.


Recommendations are to use a light-coloured/stainless steel saucepan over medium heat, as it will make it easier to judge the degree of browning.  It can be a fine line between browned butter or burned butter.  I decided to use a cast iron pot to do the job.

 I melted down 2 lbs of butter.  It started simmering away but didn't want to brown.  I realized the problem was too much butter - I wasn't supposed to be deep frying here.  So I scooped the butter out and browned it about a cup at a time - more of a "shallow fry" style. 

 Though it took a little longer than I expected, it worked!  I ended up with a nice pot of aromatic butter.  I used some right away to make a simple batch of chocolate chip cookies.  I decided to strain out the browned bits (milk solids) for the cookies as I didn't want them speckling the end product.  If I were to make a savoury dish, I would have no problem leaving the little bits in- they add flavour. 

I love Alton Brown's Chewy Chocolate Chip Cookie Recipe. It makes the soft-textured cookies - what drop cookies should be!


Though I got caught up watching Clash of the Titans on DVD and I ended up baking the cookies past the chewy stage anyways.  But no complaints as they tasted oh so good!  The browned butter did indeed add a deeper, richer flavour.  I really liked the crisp browned-edges that you don't get when you purposely underbake them.  I didn't even get to put them into the cookie jar - they got eaten up right off the baking pan.  (I must clarify that I had help...I didn't eat them all myself!!  Even though it was tempting...)

Now what shall I do with all that yummy browned butter sitting in the fridge?  I'm sure I'll find something else to cook up...hmmm...

- Irene

Thursday, November 11, 2010

Market Date Added

We are happy to announce that we have added another date for the Baker's Market.  You can now visit us Saturdays, November 20th & 27th and December 4th & 11th.  We'll also have some exciting new things baking up.  Check back for announcements about those!

-Vicki